How to Make Mini Gift Bags Out of Wrapping Paper in 5 Simple Steps
How to Make Mini Gift Bags Out of Wrapping Paper in 5 Easy Steps
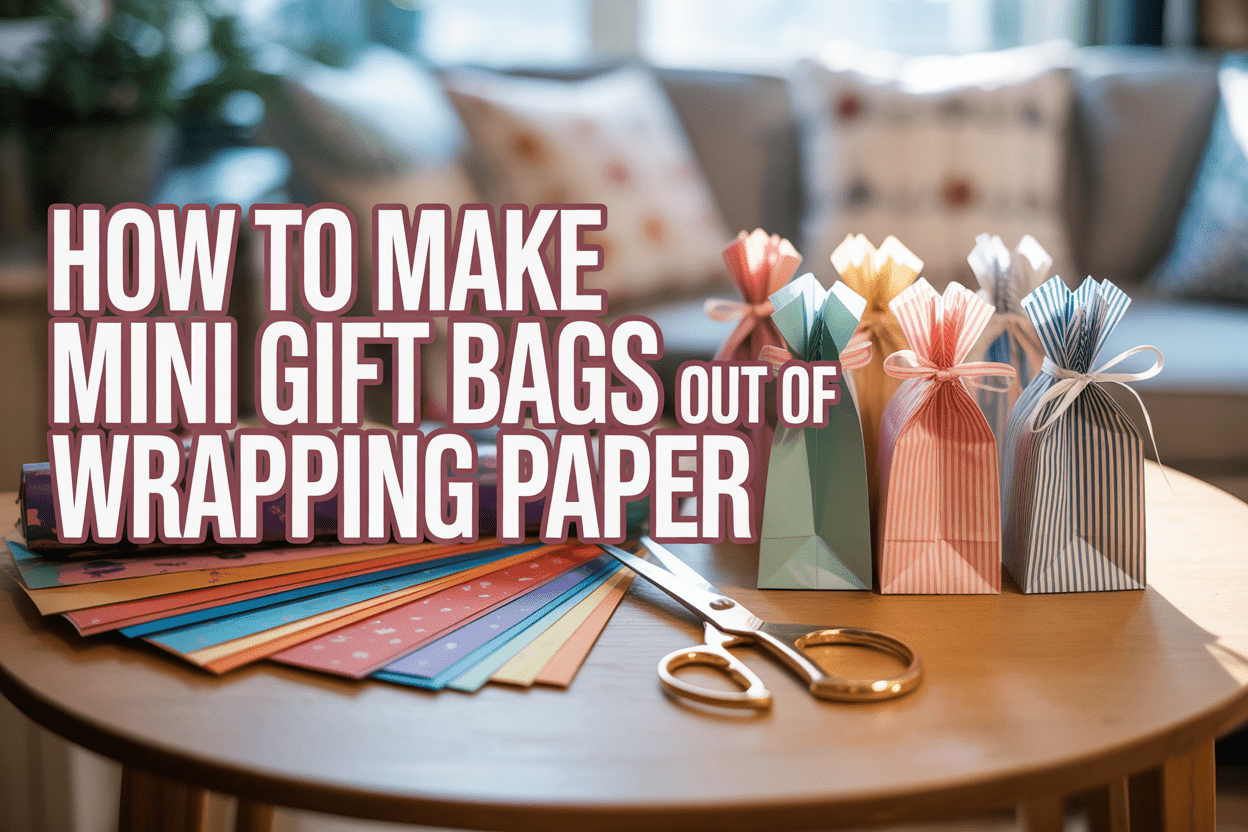
Learn how to make mini gift bags out of wrapping paper quickly and easily. You’ll only need a few materials. Follow these five steps for perfect mini gift bags.
Key Takeaways
-
Gather essential materials like wrapping paper, tape, scissors, and a ruler to create a neat mini gift bag.
-
Measure and cut your wrapping paper carefully to ensure your bag is the right size, then fold and secure it to form the structure.
-
Finish with personal touches like ribbons and gift tags to make your mini gift bag stand out and feel special for the recipient.
Gather Your Materials

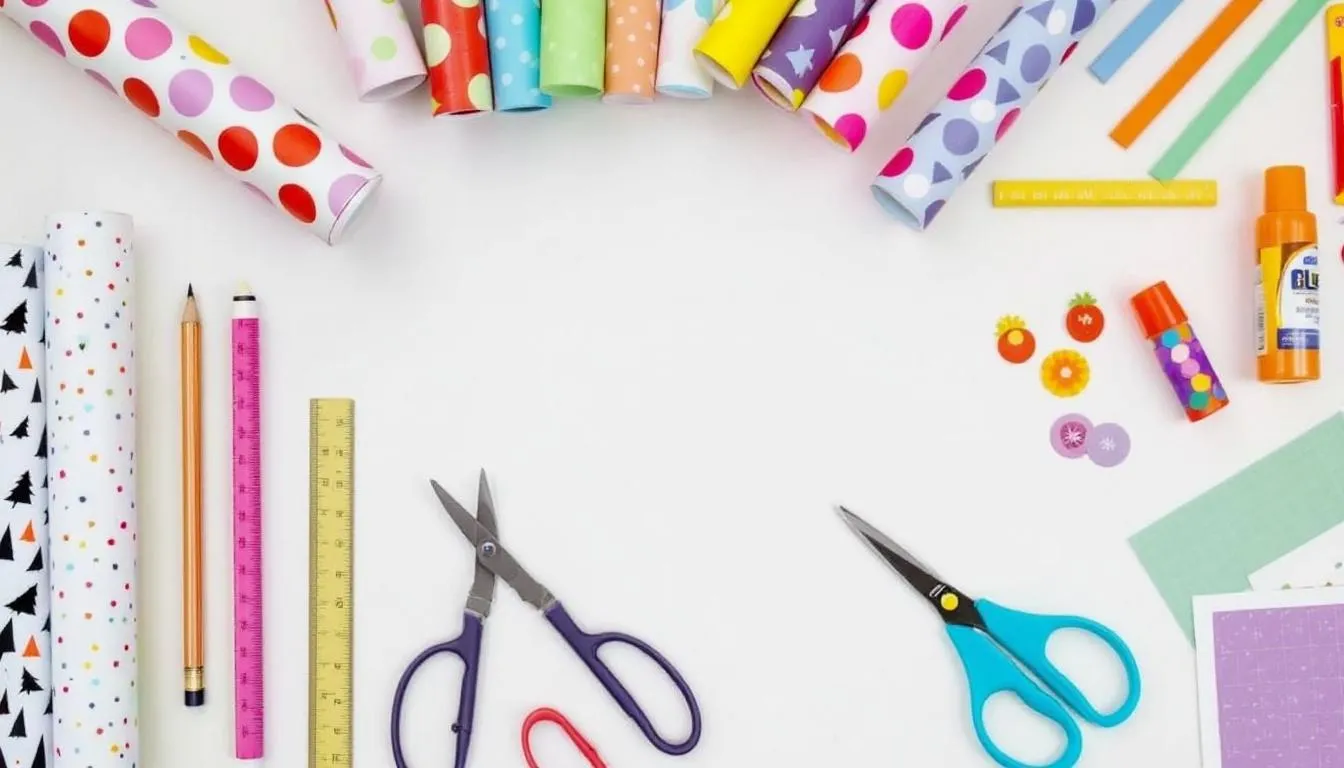
To begin, gather everything you’ll need to make a gift bag. Essential materials include:
-
Wrapping paper
-
Tape
-
Scissors
-
A ruler Each of these items helps ensure your gift bag looks neat and professional.
Wrapping paper is the star of the show, providing the decorative exterior of your happy gift bag and gift bags for Christmas. Choose a fun design that you prefer to suit the occasion or the recipient’s taste to wrap your paper bag gift ideas with love.
Tape is essential for securing the sides and base of the gift bag, ensuring it holds the contents securely.
Scissors are necessary for cutting the easy wrapping paper to the ideal size for your mini gift bag.
A ruler helps measure the wrapping paper accurately to determine the desired dimensions. With all your materials ready, you can move on to the next step.
Measure and Cut Wrapping Paper

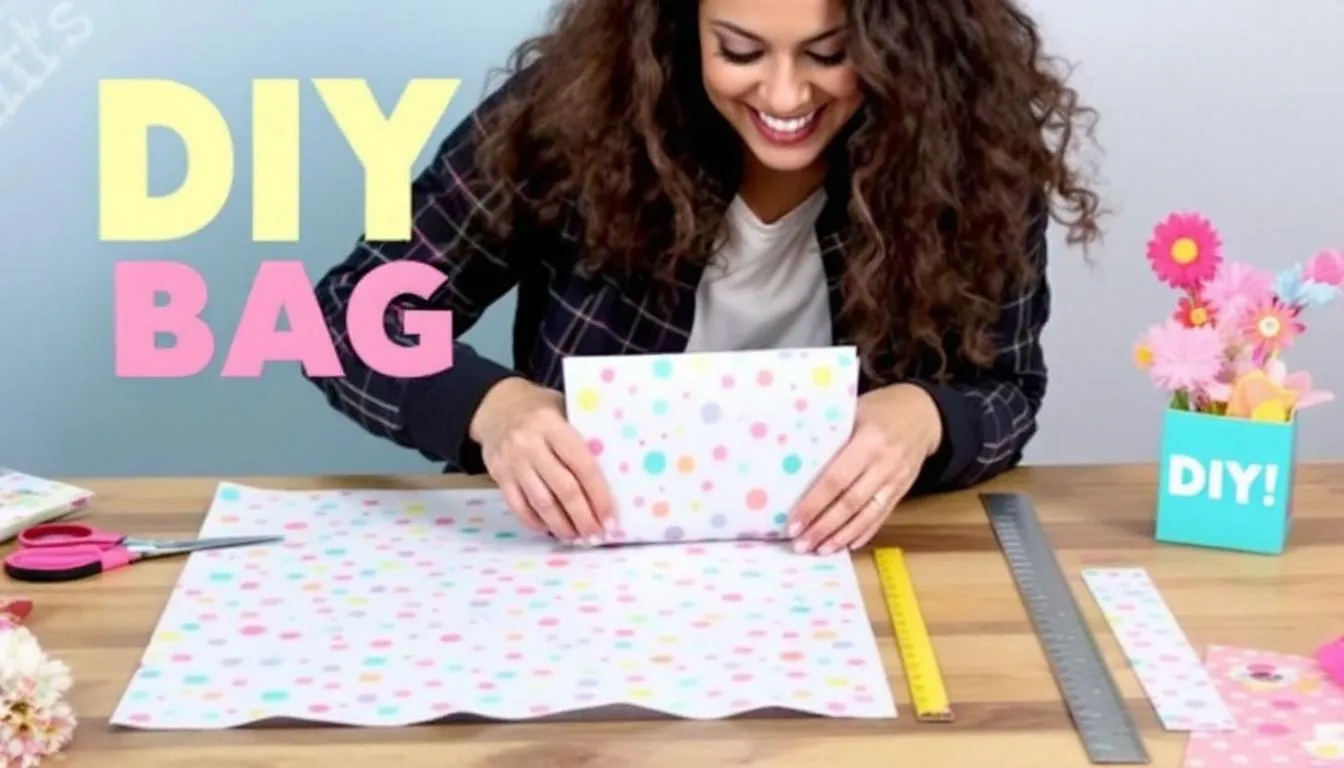
Measure and cut the wrapping paper to ensure your DIY gift bag is the perfect size. Use your ruler and add a few extra inches to the measurements for full coverage.
After determining the dimensions, cut the wrapping paper cleanly with your scissors. Cutting in a straight line prevents jagged edges and gives your bag a neat appearance.
Double-check your measurements after cutting the paper to ensure accuracy. Precision is key here, so take your time. With your paper ready, you can start creating the bag structure.
Create the Bag Structure

Begin creating the bag structure by folding one side of the wrapping paper in and creasing it. This forms the first seam of your gift bag. Secure the fold with tape to keep it in place.
Then, fold the opposite side in and tape it as well. This creates the back of the bag and provides structure. Ensure the folds are even and the tape is secure for a stable bag. Using durable wrapping paper will help the bag hold its shape better.
Fold the bottom edge into a diamond shape to form the base of the bag. Reinforce with more tape to ensure it holds the contents securely. With the main structure complete, you can move on to forming the base.
Form the Base
Forming the base is critical to ensure the bag stands upright and holds your gift securely. Lay the bag flat and fold the bottom edge up to establish the bag’s width.
Crease the sides of the triangle diamond shape firmly to create a stable base that can support the weight of your gift. Then, fold the top and bottom of the diamond towards the middle to finish the base.
Use more tape on the creases for added stability, ensuring the base is strong and can hold the contents without collapsing. With a solid base in place, your gift bag is almost ready for finishing touches.
Add Finishing Touches

With your gift bag taking shape, it’s time to add personal touches. Seal the top with tape or staples after placing the gift inside to keep the contents secure and give the bag a polished look.
For more appeal, use a contrasting color ribbon for the handle. Personalize the gift tag with a handwritten message or the recipient’s name for a personal touch.
Add decorative items like sequins or glitter for an extra dash of creativity. These touches will make your gift bag stand out and show the recipient how much you care.
Insert Your Gift
Finally, it’s time to insert your gift! Open the bag and flatten the bottom to ensure stability. Carefully place the gift inside, making sure it fits snugly but not too tight.
Fold the top flap over to the backside of the bag to keep the gift secure and give it a clean, finished look. Ensure any ribbon or gift tag is positioned nicely for that final touch.
With your gift safely inside, your DIY gift bag is complete. You’ve created a beautiful, personalized bag that adds a special touch to any present. Your recipient will appreciate the effort and creativity you’ve put into making their gift extra special.
Summary
In just five easy steps, you’ve learned how to make a mini gift bag out of wrapping paper. From gathering your materials to adding those final personalized touches, each step has brought you closer to creating a beautiful and unique gift bag.
This fun project adds a personal touch to your gift-giving. When you need a small gift bag, follow this easy tutorial on a flat surface. Add tissue paper inside, punch holes at the top, and tie a ribbon or bow to finish. Happy crafting!
Frequently Asked Questions
What kind of wrapping paper should I use?
Go for durable wrapping paper; it’ll keep your gift looking nice and hold its shape without a hitch!
Can I use glue instead of tape?
Absolutely, you can use glue instead of tape, but just be sure to let it dry completely before proceeding.
How do I ensure my cuts are straight?
To keep your cuts straight, just grab a ruler and mark where you want to cut before using your scissors. It'll help you get those clean edges every time!
What if my gift is too heavy for the bag?
If your gift is too heavy for the bag, just reinforce the seams and base with extra tape for support and opt for thicker wrapping paper. It'll keep everything secure!
How can I personalize my gift bag?
You can easily personalize your gift bag by adding a handwritten tag and using fun decorations like contrasting ribbons, sequins, or glitter. It makes your gift feel extra special!


