
How to Make a DIY Leather Keychain for Him: A Simple Guide
How to Make a DIY Leather Keychain for Him: Friendly Step-by-Step Guide
A DIY leather keychain makes a great gift for loved ones, combining practicality and style in a handcrafted present. Whether you’re into leather craft or just love creating handmade gifts, this guide walks you through how to make a leather keychain from scratch. It’s a rewarding project that only requires a few tools, a piece of vegetable tanned leather, and a little extra effort.
Key Takeaways:
-
Create a personalized leather keychain using basic leather craft tools.
-
Perfect for gifts, selling, or everyday use.
-
Suitable for beginners with step-by-step instructions.
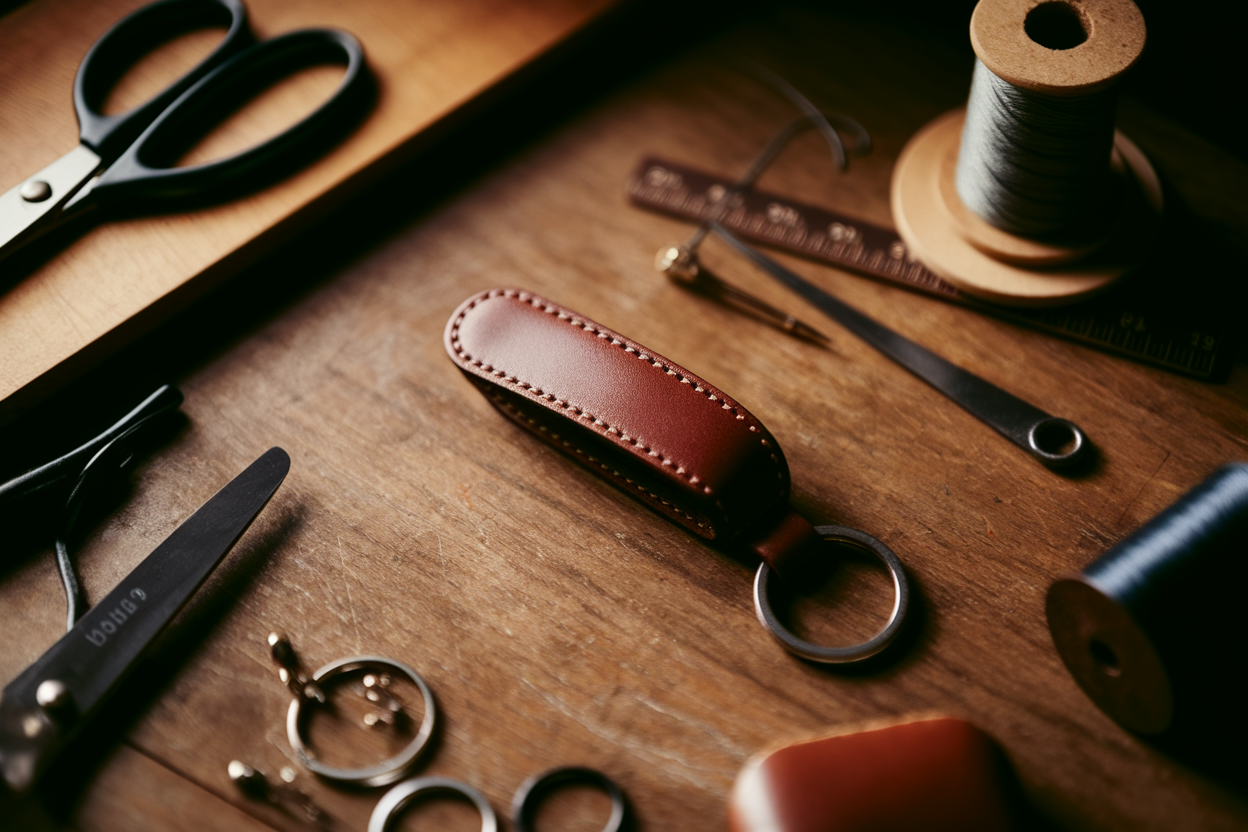
Introduction to Leather Crafting
Leather crafting is a fun and rewarding way to create personalized items that are both stylish and practical. Whether you’re making a leather keychain, wallet, or even a belt, the process starts with choosing the right materials. Vegetable tanned leather is a favorite among crafters for its durability and ability to take on beautiful finishes and tooling details. If you’re just starting out, don’t hesitate to use scrap leather or tooling leather for your first projects—these are perfect for practicing and experimenting with different techniques. With a few basic tools and a key ring, you can dive into the world of DIY leather keychain projects and discover just how creative leather crafting can be. From simple keychains to more advanced leather key projects, there’s no limit to what you can make. So gather your materials, get inspired, and enjoy the process of making something unique by hand!
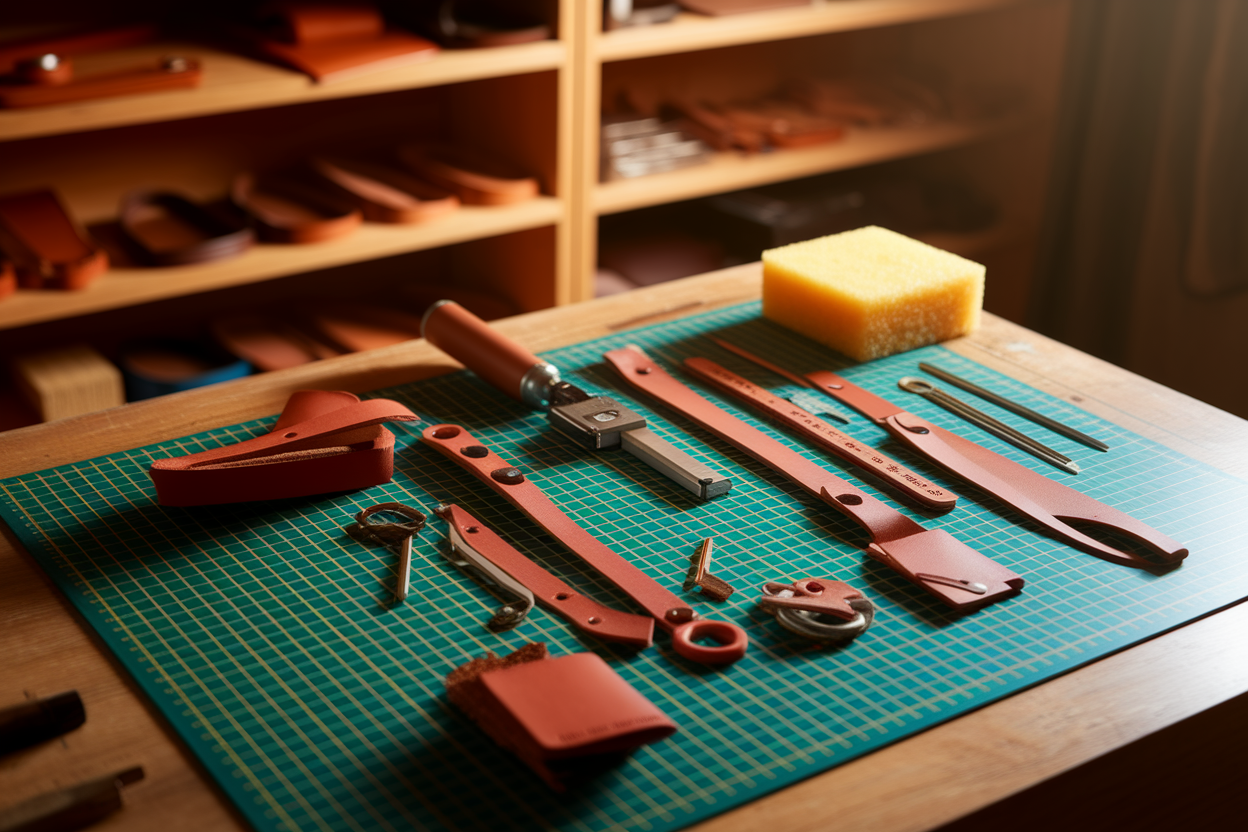
Materials & Tools You’ll Need:
-
Vegetable tanned leather or scrap leather
-
Key ring or key fob hardware
-
Ruler and pencil
-
Knife or scissors
-
Edge beveler and damp sponge
-
Hole punch or awl
-
Rivets and rivet setter
-
Light coat of leather polish or dye (optional)
-
Sewing machine or needle and thread (optional)
-
Bag (for storing scraps and small tools)
Having the right tool for each step makes the process much easier and helps you achieve a professional result.
Note: You can often find scrap leather or leatherworking tools at your local store, such as a craft store, furniture store, or specialty leather shop.
Tip: Before you start, gather all your stuff so you have everything you need within reach.
Working with Leather: Tips & Tricks
Getting great results with your DIY leather keychain comes down to a few simple techniques. Before you start cutting or shaping, use a damp sponge to lightly moisten the leather—this makes it more flexible and helps prevent cracks. When it’s time to finish your project, apply a light coat of leather conditioner or polish to keep the leather smooth and protected. For punching holes, always use a proper leather punch to create clean, even holes for your rivets or stitching. If you’re sewing your keychain, a sewing machine with a leather needle and a walking foot will make the process much easier and help the layers feed through smoothly. Taking these extra steps ensures your diy leather keychain not only looks great but also stands up to daily use. With a little care and the right tools, your keychain will be a project you’re proud to carry or give as a gift!
Step-by-Step Instructions
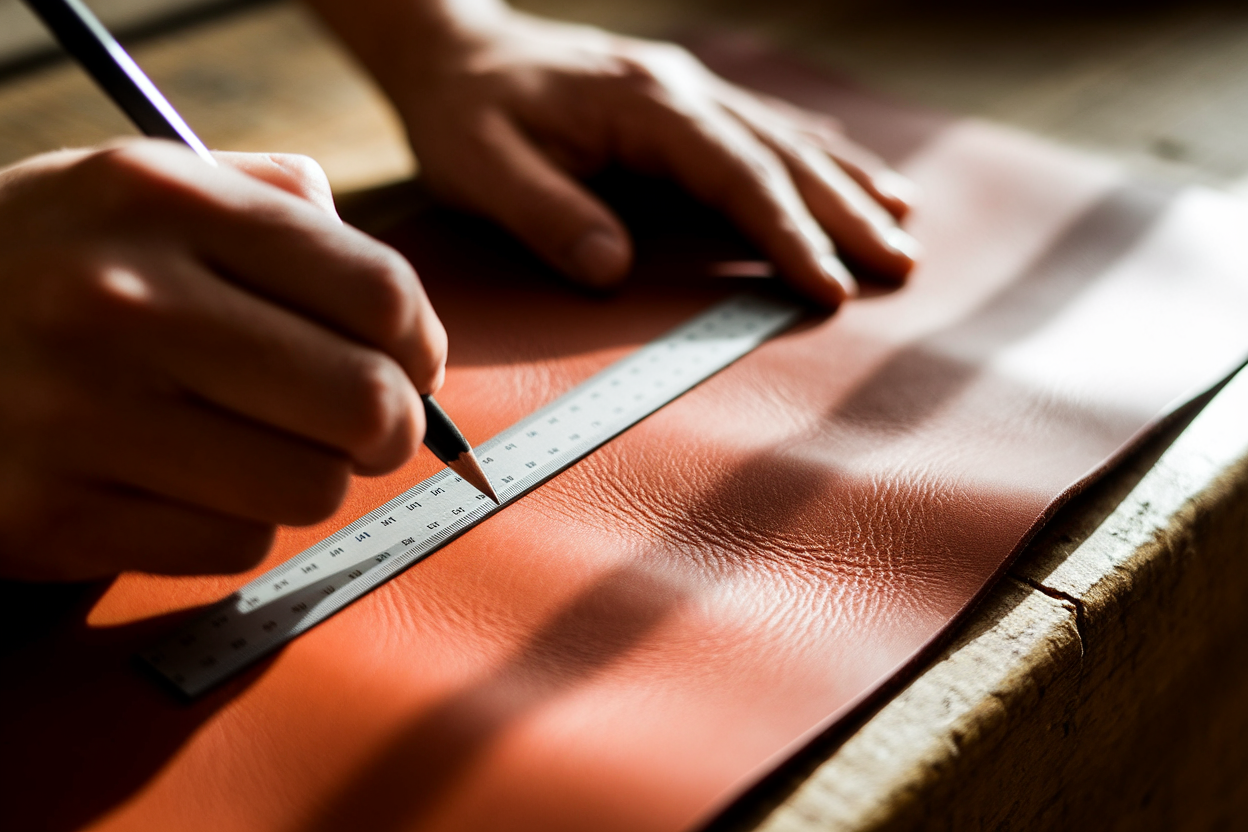
1. Choose and Cut Your Leather
Pick a smooth piece of tooling leather, ideally vegetable tanned for best results. Before marking your pattern, print a template to use as a guide. Use a ruler and pencil to draw clear lines on the left side of the leather to outline your pattern. The standard width for a keychain is about 3/4 inch, and the length should be around 4 to 5 inches before folding. When cutting, pay special attention to the corners to ensure a clean, professional finish.
2. Prepare the Edges
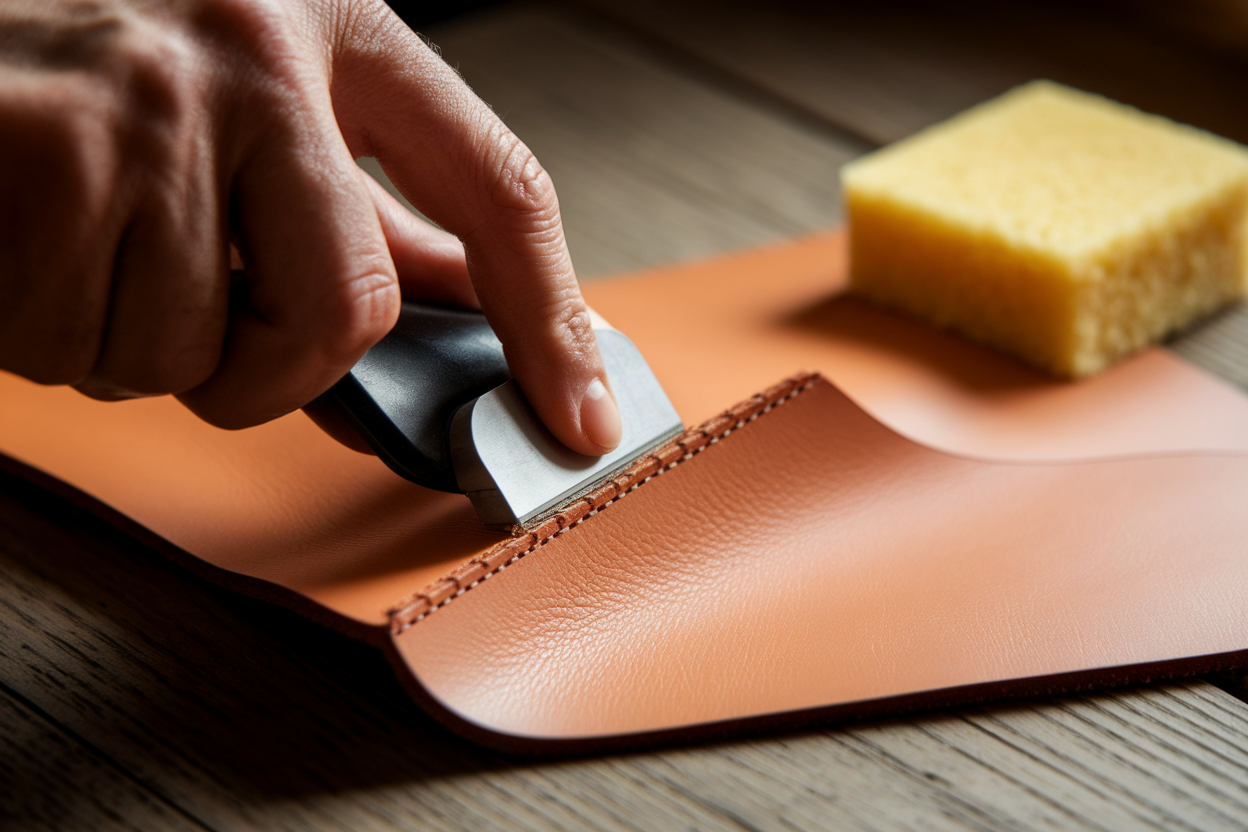
Use an edge beveler to round off the edges, then run a damp sponge along them to smooth out any rough spots. Next, the edges should be burnished for a professional finish. You can use a burnishing bit or tool to achieve smooth, slick edges that enhance durability and appearance. For detailed edge work, use the point of your tool to ensure clean, precise results. This gives your leather keychain a polished, professional feel.
3. Punch the Holes
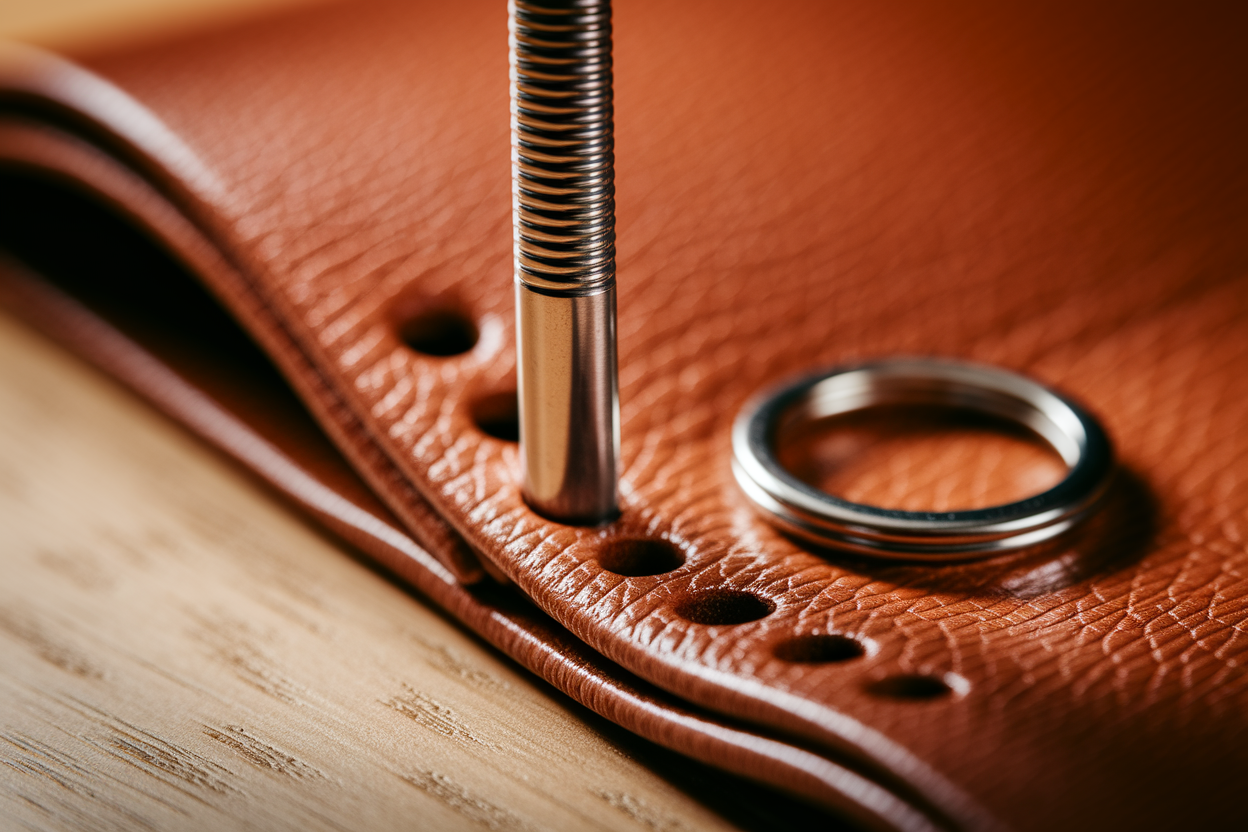
Mark the spot where the leather will loop through the key ring. Gently push the punch tool through the leather to create holes for rivets or stitching. Make sure the holes aren’t off center—even spacing gives a cleaner look. If you are stitching, stick the needle through the holes for a secure finish.
4. Assemble the Loop
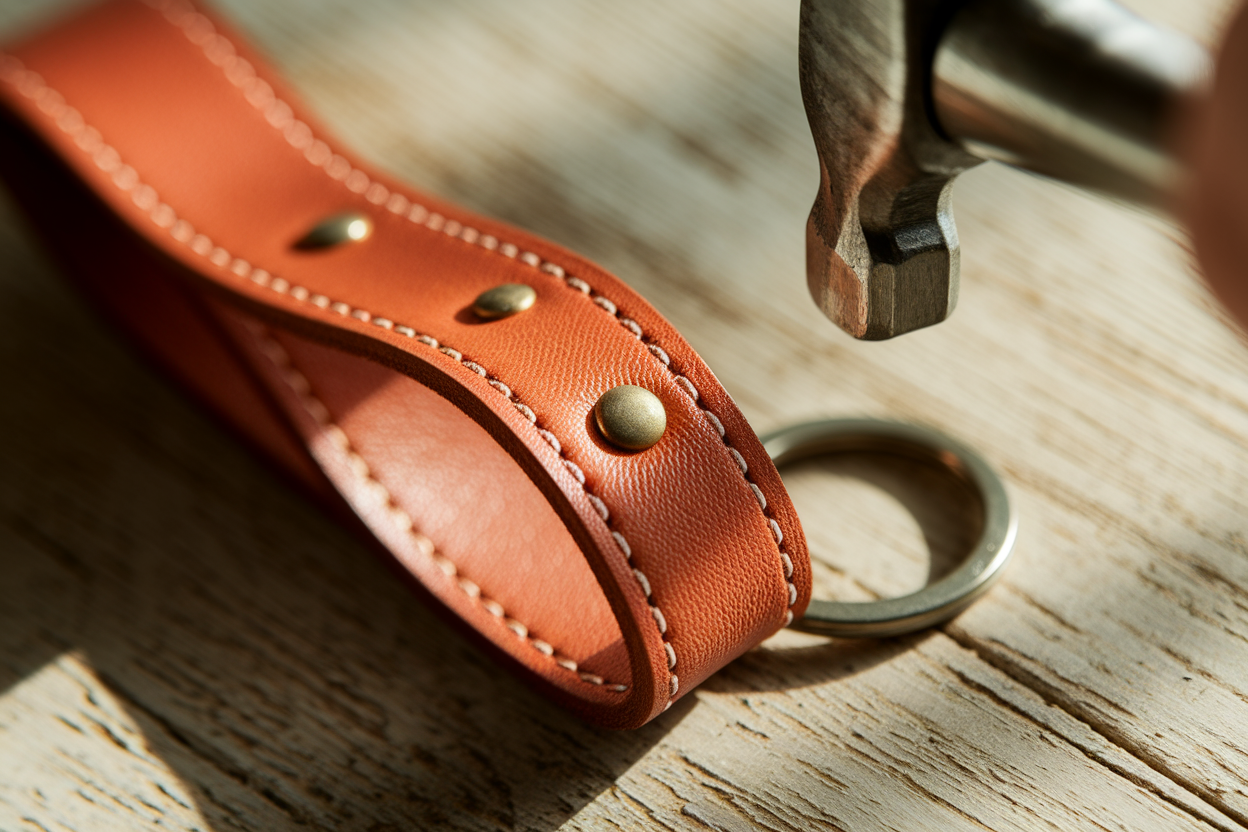
Fold the leather strip in half, inserting the key ring or key fob in the middle. I decided to use rivets for securing the loop, but you could also use stitching depending on your preference. Which method do you prefer for attaching the loop—rivets or stitching? There are more options for customizing your keychain, such as choosing different hardware or adding decorative elements. If using a sewing machine, go slowly to handle the thickness. You might be sewing through two or even three layers.
5. Finish the Leather
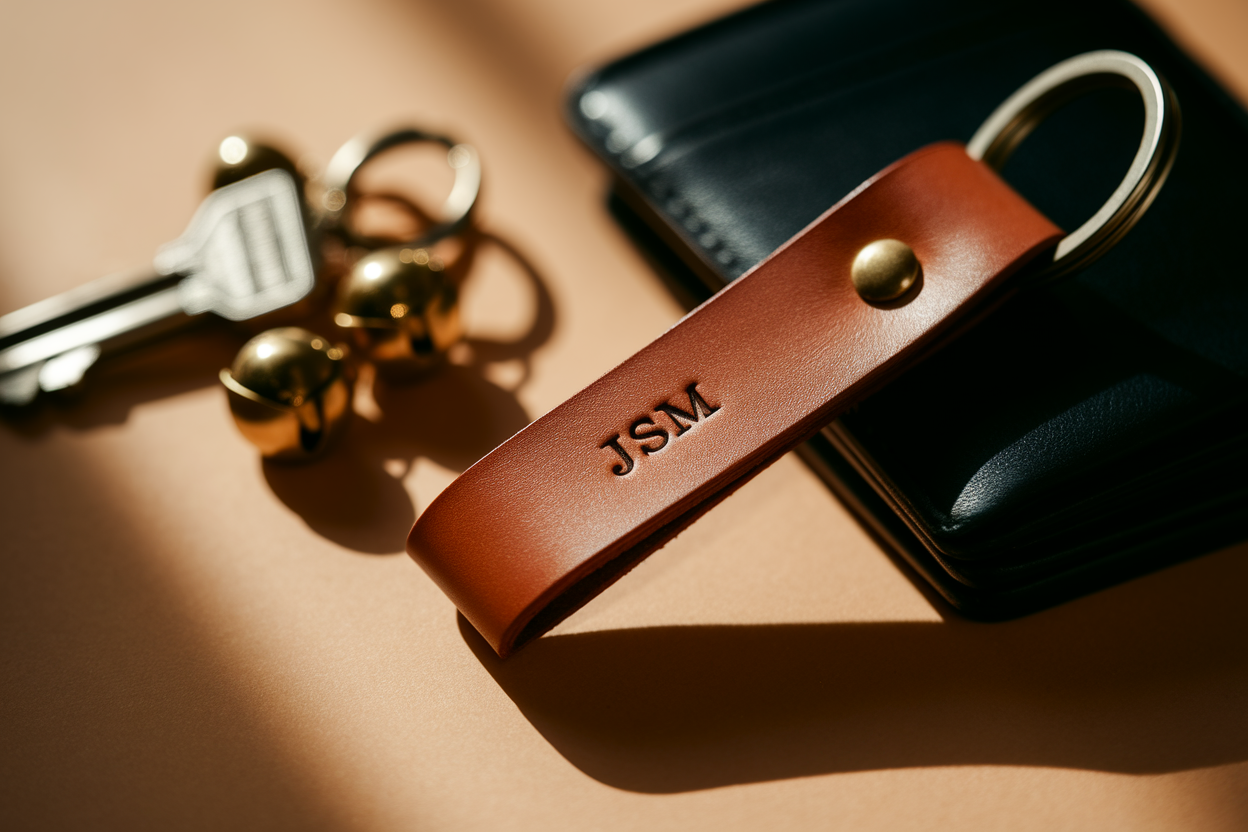
Apply a light coat of leather polish or dye, if desired. You can wet the leather slightly with a damp cloth before applying polish to help with absorption or, if you plan to stamp or decorate, to make the leather more receptive to a clear impression—check the depth and clarity of the impression before proceeding. Rub the polish in using a cloth or your fingers, making sure to finish both the front and back side of the leather for a professional look. Wait until the polish is completely dry before buffing the surface to a shine. If you prefer a more natural or rustic appearance, you can also leave the leather unpolished as a stylistic choice. This final step adds an extra touch of detail to your DIY leather keychain.
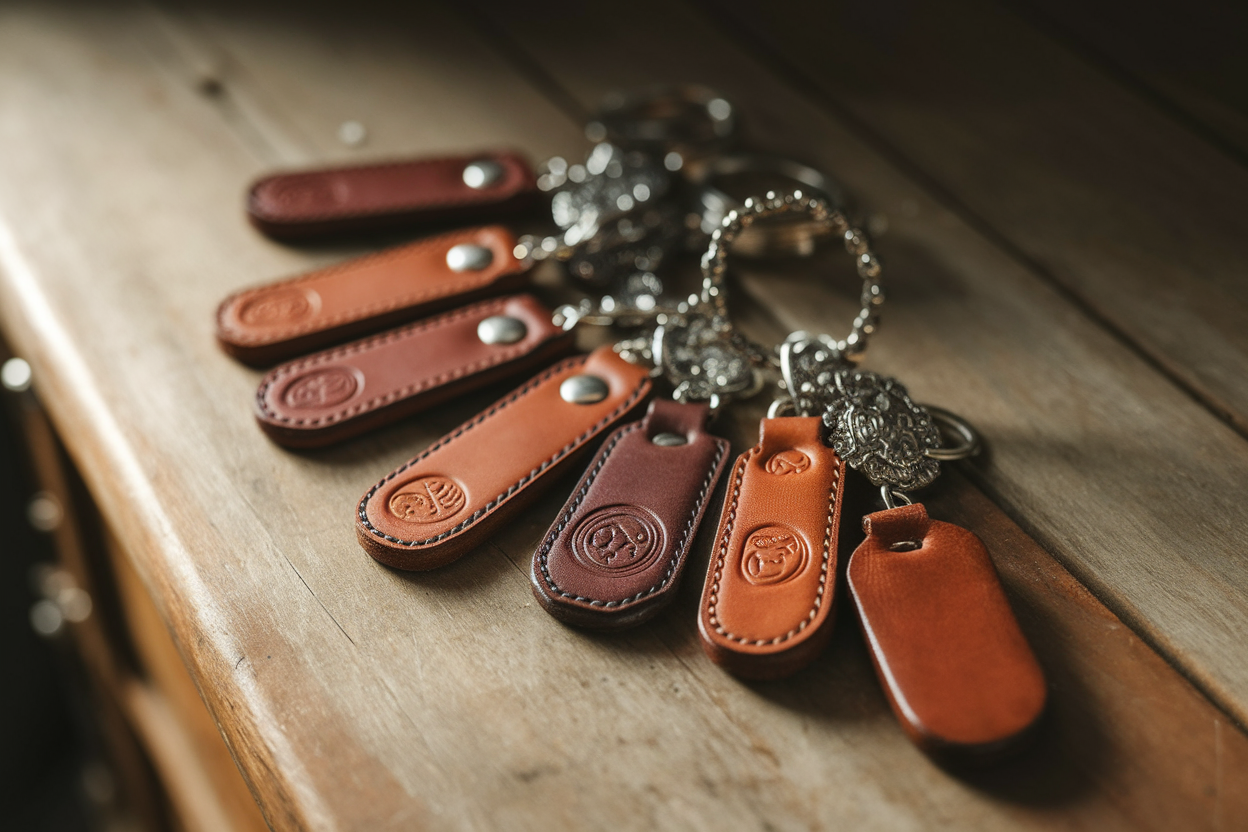
That’s It! You now have a custom leather keychain that’s both stylish and durable. Whether you plan to keep it, gift it, or sell your creations at craft fairs, this project is as versatile as it is fun.
FAQ
How to make leather key holders?
Start with a sturdy piece of vegetable tanned leather, cut to size for your key chain, and loop it around a key ring. Secure with rivets or stitching and finish the edges. Customize your key chain with stamps or dye to personalize. If you use dye or polish, wait for it to dry completely before handling to avoid smudges.
What is the best leather for keychains?
Vegetable tanned leather is a top choice for a leather key chain because it’s durable, holds shape well, and is perfect for tooling or dyeing. Scrap leather can also work great for smaller projects.
How to make a personalized keychain at home?
Add initials, emboss a name, or decorate one side of the leather with stamps or paint. This turns a simple leather keychain into a memorable, personalized gift.
How to make a homemade key fob?
Follow the same steps as for a keychain: cut your leather, loop it through a fob clasp, secure it, and finish the surface. A key fob typically uses wider leather and more decorative hardware. If you apply any finish, wait until it is fully dry before use.


