
How to Craft a DIY Candle Gift Set: Simple Steps for Thoughtful Gifts
Want to know how to craft a DIY candle gift set? This guide will show you how to gather supplies, choose the right wax, select wicks, and add personal touches. Let’s get started.
Key Takeaways
-
Gather essential supplies like wax, wicks, and containers for your DIY candle gift set.
-
Choose the right type of wax and wick size for your candles to ensure optimal burning quality.
-
Add personal touches and follow candle care tips to enhance your gift set and ensure safe use for recipients.
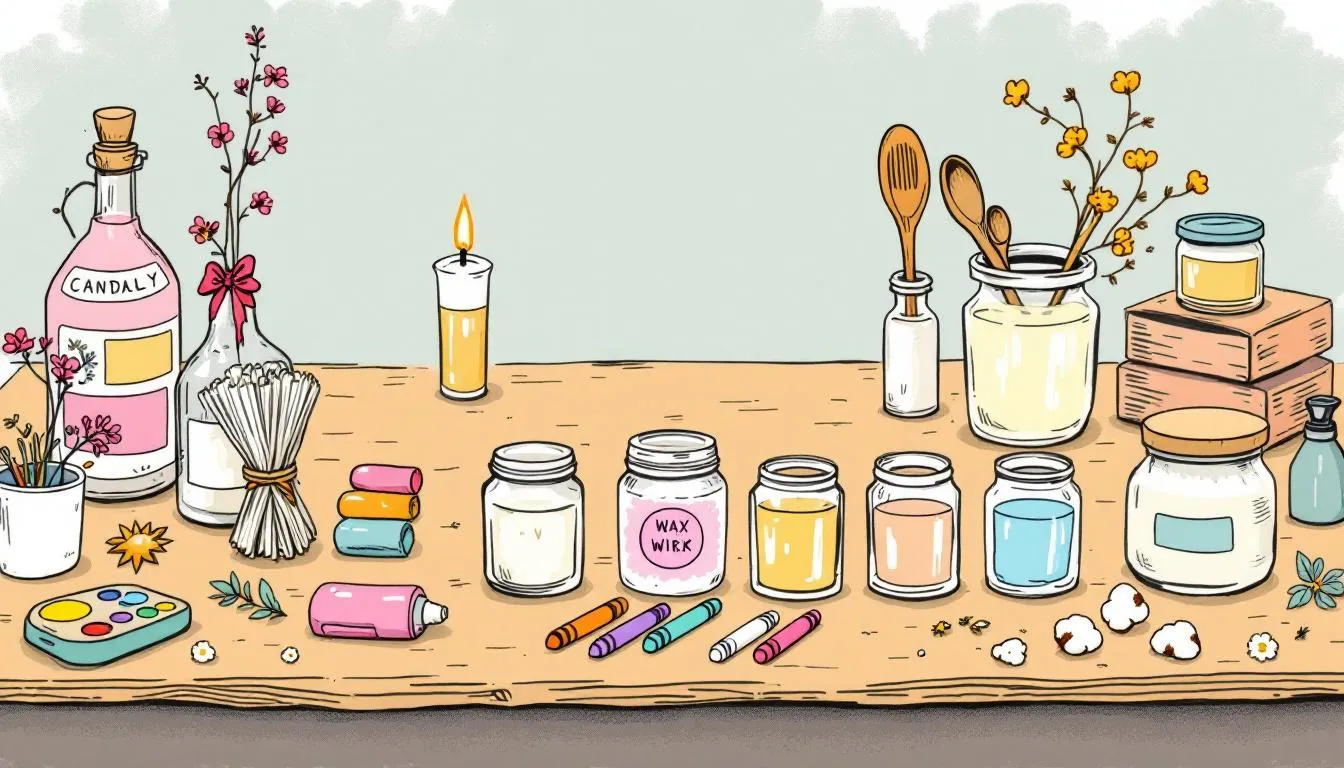
Essential Supplies for Your DIY Candle Gift Set

Gathering the essential supplies is the first step in candle making. You’ll need:
-
a stovetop
-
wax
-
wicks
-
fragrance oils
-
containers These items will serve as the foundational tools for your candle crafting journey.
The wax is the heart of your candle, and it comes in various forms like shavings, flakes, or blocks, each offering different melting and pouring techniques. Wicks are crucial for the candle’s burning process and come in various sizes and materials to match your candle design. Use a kitchen scale to measure the weight of your wax accurately.
Containers, often glass jars or metal tins, not only hold the wax but also add to the aesthetic appeal of your candles. Finally, fragrance oils will give your candles their delightful scents, making them truly special. With these basic supplies in hand, you’re ready to start your candle-making journey.
Next, consider how to choose the right wax and select wicks and containers to create beautiful, long-lasting candles.
Choosing the Right Wax
Choosing the right wax is essential in candle making, with several types available, each offering unique characteristics and benefits. Soy wax, with its lower melting point compared to paraffin, is easier to manage and ideal for beginners.
For pillar or taper candles, beeswax is excellent due to its higher melting point and natural honey scent. Beeswax is also known for its clean-burning properties, which make it a favourite among eco-conscious crafters.
For those who want to add a touch of luxury to their candles, coconut wax is the way to go. It has an excellent fragrance retention capability, ensuring that your candles will smell divine. Deciding how much wax you’ll need depends on the size and number of candles you plan to make, so it’s always a good idea to measure carefully.
Understanding various wax types and their properties helps in making informed decisions for successful candle making. With knowledge about waxes, the next step is selecting the right wicks and containers.
Selecting Wicks and Containers
Choosing the appropriate wicks and containers is equally important as selecting the right wax. The wick size must be compatible with the diameter of your candle container to ensure proper burning. Wicks come in various materials, such as cotton, wood, and hemp, each providing a different burn quality.
Glass jars are a popular choice for container candles because they are heat resistant and allow you to see the beautiful candle inside. Metal tins are another good option, offering a sleek and modern look. Whatever container you choose, make sure it is safe for candle making and can withstand the heat of the molten wax.
Select wicks based on the type of wax to achieve optimal burning performance. For instance, a thicker wick might be needed for beeswax candles due to its higher melting point. Compatibility between wicks and containers ensures a safe and effective burning candle.
With supplies ready and choices made, prepare your workspace for the candle-making process. Let’s move on to setting up a safe and efficient area for crafting your beautiful candles.
Preparing Your Workspace
A safe and efficient workspace is crucial for successful candle making. This preparation not only helps prevent accidents but also makes the process smoother and more enjoyable. Your workspace serves as the control centre where all the magic happens.
To prepare your workspace:
-
Clear a sturdy, flat surface for your tool and supplies.
-
Ensure the surface is free from flammable materials for safety.
-
Organize the workspace well to make it easier to follow steps and keep track of materials.
Safety is paramount, especially with hot wax. Ensure all necessary safety equipment is in place before starting. With your workspace prepared, you’re ready to start the exciting process of making candles.
Now, consider the essential safety measures for handling hot wax.
Safety Measures
Following safety protocols when handling hot wax is crucial to prevent accidents and ensure a smooth candle-making experience. Start by wearing protective clothing, including long sleeves and appropriate footwear, to shield yourself from hot wax splashes.
Safety precautions include:
-
Wearing safety goggles and heat-proof gloves to protect your eyes and hands.
-
Ensuring your workspace is free from flammable materials to mitigate fire hazards.
-
Keeping a fire extinguisher nearby for emergencies, although hopefully, you’ll never need to use it.
Following these safety measures allows you to focus on the creative aspect of candle making without worrying about potential hazards. With safety in mind, set up your tools and equipment.
Tools and Equipment Setup
Using the right tools and equipment is essential for successful candle making. Using a double boiler is recommended for safely melting various types of wax. A double boiler helps prevent direct heat on the wax, reducing the risk of burning. You can easily construct a double boiler using a large pot filled with water and a smaller pot or measuring cup to melt the wax.
A thermometer is vital for monitoring the melting temperature to achieve a smooth and consistent mixture. Using a double boiler and a thermometer minimizes the risk of overheating and ensures even heating.
Properly set up tools and equipment make the candle-making process more efficient and enjoyable. With your workspace ready, start melting and mixing your wax.
Melting and Mixing Your Wax
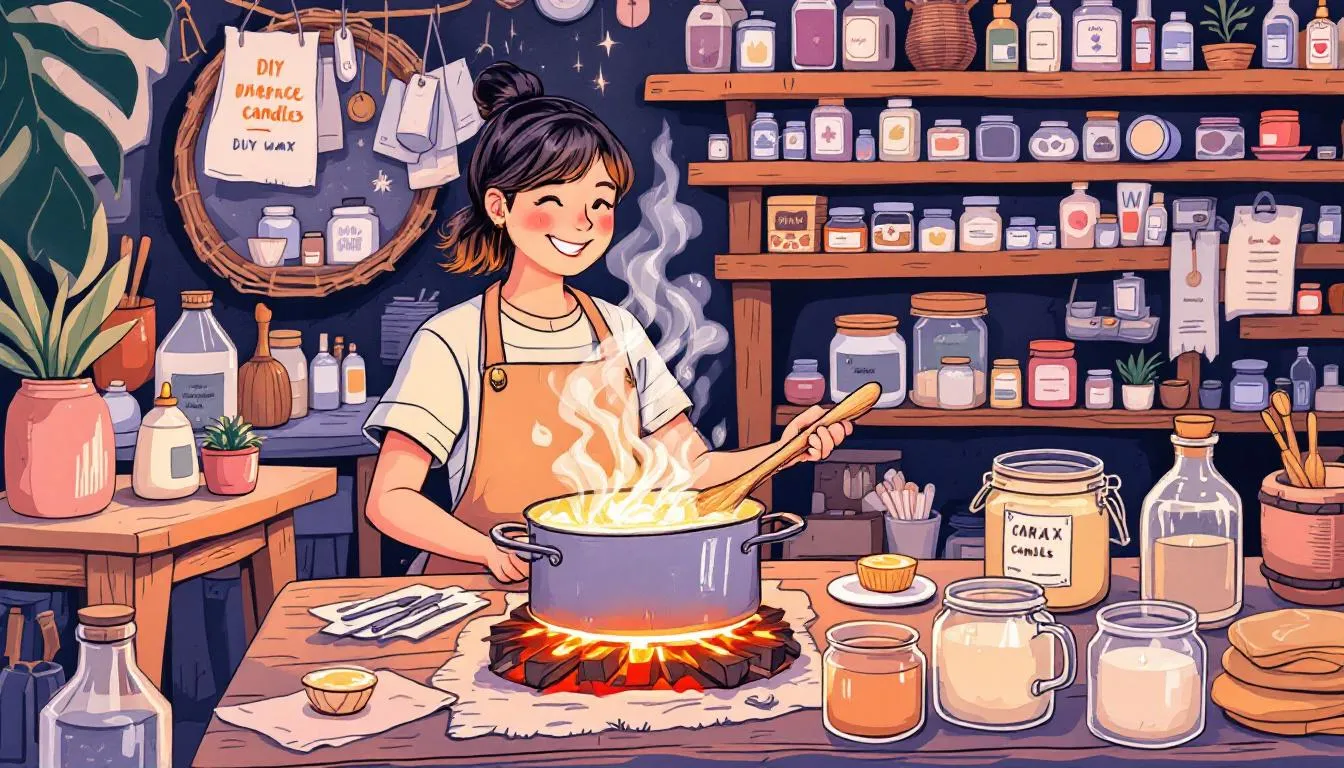
The real magic of candle making begins with melting and mixing wax. This process requires careful attention to detail for the perfect consistency and scent. Measure the amount of wax needed using a kitchen scale to ensure you have enough for your candles.
With your double boiler setup:
-
Melt the wax slowly to prevent overheating or burning.
-
Stir the wax gently as it melts to help achieve a smooth consistency.
-
Add dye to achieve your desired candle colour. A good rule of thumb is 1 gram of dye per 500 grams of wax.
Once the wax is fully melted and mixed, focus on achieving the perfect temperature for adding fragrance oils. Let’s explore this in more detail.
Achieving the Perfect Temperature
Monitoring the temperature of your wax ensures a smooth and consistent mixture. Heat the wax to 185°F using a thermometer for optimal melting. Maintaining this temperature ensures a smooth consistency and prevents issues during the process.
After reaching 185°F, let the wax cool to around 140°F before adding dye to ensure even blending without clumping. Let the wax cool further to 125°F after adding dye before pouring it into containers.
Consistency is key; monitor the temperature throughout the process for the best results. With the perfect temperature achieved, add the fragrance oils to your molten wax.
Adding Fragrance Oils
Adding fragrance oils is crucial for creating delightful-smelling candles. The scent throw, or the radius of the scent as it burns, is influenced by the quality and quantity of fragrance oil used. Add 5-8 ml of fragrance oil for every 100 grams of wax for optimal scent release.
Mix the fragrance oil thoroughly with the molten wax for even distribution and maximum scent throw. This thorough blend is essential for creating beautiful candles with a consistent and pleasant aroma.
With your wax perfectly mixed with the fragrance oil, it’s time to pour and set your candles. Let’s move on to this exciting next step.
Pouring and Setting Your Candles

Pouring and setting candles requires patience and precision. Cool the melted wax to its appropriate pouring temperature to prevent defects like cracks or bubbles. Slowly pour the wax into the container to minimize air bubbles and ensure a smooth finish.
Pour the melted wax slowly to avoid creating air bubbles. After pouring, allow the candles to cool completely in a stable environment for the best results. This cooling period ensures a smooth and even surface for your candles and cools them effectively.
With your candles poured, consider how to prevent common issues during the setting process.
Preventing Common Issues
Preventing common issues during the candle setting process is key to achieving high-quality candles. Pouring the wax too quickly can introduce air bubbles, affecting the candle’s appearance and burn quality. Gently stirring the wax can release trapped air and prevent bubbles.
To ensure proper candle setting:
-
Maintain a consistent room temperature of around 22°C.
-
Allow the wax to cool steadily to avoid rough surfaces or cracks caused by rapid cooling.
-
Use clothespins or wick bars to stabilize the wick in the candle centre while the wax is cooling.
Following these tips helps avoid common issues and ensures your candles set perfectly. Next, add the finishing touches to your candles.
Finishing Touches
Adding finishing touches allows you to get creative and personalize your candles. Trim the wick to the appropriate length for a clean and even burn. Trim wicks to about 1/4 inch before lighting to reduce soot and promote a cleaner burn.
Use a heat gun to smooth out any imperfections on the candle’s surface. Adding decorative elements like dried flowers can enhance your candles’ visual appeal. These small touches can transform your candles into stunning gifts.
With your candles beautifully finished, assemble them into a thoughtful and personalized gift set. Let’s explore how to do this next.
Assembling Your DIY Candle Gift Set
A DIY candle gift set is a wonderful way to share your handmade creations with loved ones. To make your gift set truly special, consider adding:
-
Personalized touches
-
Thoughtful details
-
Custom labels
-
Handwritten notes These elements create a personal connection with the recipient. Additionally, you can include some diy candles to enhance the experience.
Ways to enhance your candles include:
-
Adding personalized labels with the recipient’s name or a special message for a unique and heartfelt touch.
-
Wrapping your candles elegantly using ribbons, twine, or natural materials to elevate the presentation.
-
Creating candles in mason jars with scents like peppermint to add extra charm and evoke a cosy atmosphere.
Next, delve into decorating and personalizing your candles to make them stand out.
Decorating and Personalizing
Decorating and personalizing your candles transforms them from simple crafts into cherished gifts. Clean your containers before use to fill ensure better adhesion for stick or labels, achieving a polished and professional look.
To personalize your candles, consider the following ideas:
-
Use custom labels that reflect the candle’s style and the recipient’s personality.
-
Add handwritten notes or tags to show thought and care, adding a personal touch.
-
Enhance the aesthetic appeal of your candles with dried flowers, glitter, or other decorative elements.
By taking the time to decorate and personalize your candles, you create a memorable and unique gift that will be cherished by the recipient. Now, let’s explore different themes for your candle gift sets.
Gift Set Themes
Creating themed gift sets can make your candles even more special and relevant to the occasion. Themed gift sets can include seasonal scents or coordinated colours to enhance the gifting experience. For example, a winter-themed set might feature scents like cinnamon and pine, while a spring set could include fresh floral fragrances.
Colour-coordinated collections can create a visually appealing colour gift set that looks as good as it smells. You could also consider creating a cosy theme with warm and comforting scents like vanilla and sandalwood, perfect for creating a relaxing atmosphere.
By choosing a theme for your gift set, you can create a cohesive and thoughtful present that is sure to delight the recipient. With your gift set ready, let’s explore some unique candle-making projects to further inspire your creativity.
Unique Candle Making Projects
Once you’ve mastered the basics of candle making, it’s time to explore some unique and creative projects. Incorporating natural elements like dried flowers or herbs can add a unique touch to your candles. Experimenting with different colours and fragrances can enhance the creativity of your candle making.
Creativity plays a vital role in making your candles stand out and reflect your life personality. Personal expression in candle making can lead to unique gift sets that produce a craft form sign price appeal to individual tastes and money, providing inspiration.
Let’s explore two exciting projects: layered candles and molded candles.
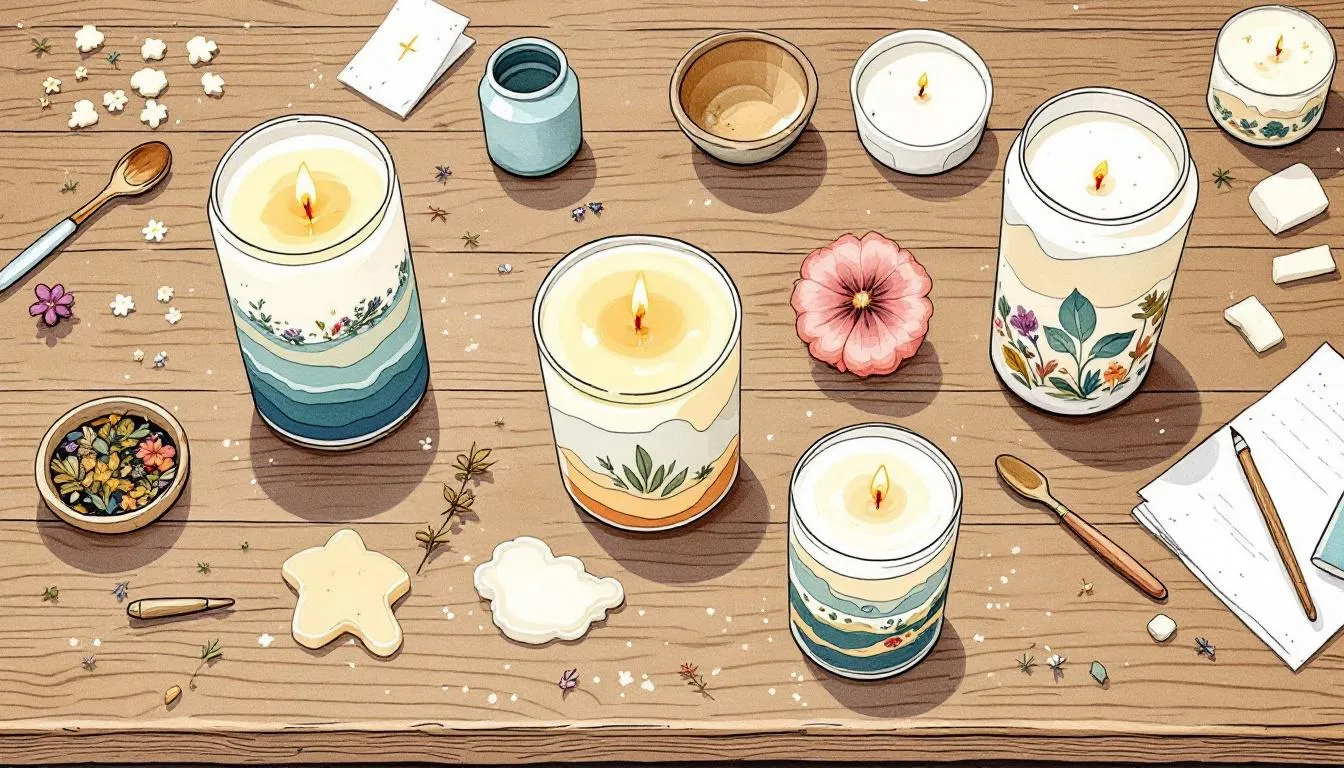
Layered Candles
Layered candles are a beautiful way to combine different colours and scents, creating visually appealing designs. These candles can utilize different colours and fragrances to create stunning effects. By layering various colours, you can create candles that are not only beautiful but also offer a unique burning experience as each layer melts.
Creating a gift set based on a cosy theme with warm scents can evoke feelings of comfort and relaxation, allowing one to rest with friends. Seasonal themed gift sets, such as those with scents like cinnamon for fall or fresh florals for spring, can enhance the gifting experience by evoking specific emotions.
Layered candles are an excellent way to showcase your creativity and make your candle gift sets truly special. Now, let’s explore the exciting world of molded candles.
Molded Candles
Molded candles offer endless possibilities for unique shapes and designs. Using different materials for molds, such as silicone, can create diverse textures and patterns in your candles. Silicone molds, in particular, allow for easy release once the candle has set, making them ideal for creating complex shapes.
You can shape molded candles into various designs, tailoring them to any occasion. Whether it’s a heart-shaped candle for Valentine’s Day or a star-shaped candle for the holidays, molded candles add a special touch to your gift sets.
Experimenting with molded candles can be a fun and rewarding way to expand your candle-making skills and create one-of-a-kind gifts. With your unique candles ready, let’s ensure the recipients know how to care for them properly.
Candle Care Tips for Recipients
Providing proper candle care instructions is essential to ensure the recipients can enjoy their candles safely and effectively. Offering proper instructions on candle care enhances the recipient’s enjoyment and ensures safety. Simple tips like trimming the wick and placing candles on a heat-resistant surface can make a big difference.
To maximize your candle’s lifespan and ensure safety:
-
Trim the wick to 1/4 inch before each burn to prevent high flames and uneven burns.
-
This practice helps promote a clean and even burn.
-
It also reduces the risk of soot and smoke.
By sharing these care tips, you can ensure that the recipients enjoy their beautiful candles to the fullest. Let’s dive deeper into the burning instructions and troubleshooting common issues.
Burning Instructions
Proper burning techniques are essential for maximizing the lifespan of your candles and ensuring safety during use. For optimal performance, trim the wick to between 1/8 and 1/4 inches before each burn to promote a clean and even burn. This step is crucial for preventing excessive soot and ensuring a cleaner burning experience.
Always place candles on a heat-resistant surface and never leave burning candles unattended to ensure safety. Following these best practices not only enhances the experience of using your candles but also ensures a safer environment.
Sharing these burning instructions with the recipients of your candles will help them enjoy their gifts safely and effectively. Now, let’s explore some troubleshooting tips for common candle issues.
Troubleshooting Common Issues
Even with the best care, candles can sometimes encounter issues like tunnelling or uneven burning. To prevent tunnelling, ensure that the candle burns long enough on the first use so that the melted wax reaches the edges of the container. This practice helps create an even wax pool and prevents the candle from forming a tunnel around the wick.
Maintaining the right temperature when melting wax is crucial for ensuring the best results and preventing issues like uneven burning. Using a double boiler to melt wax gently and mixing thoroughly can help achieve a uniform texture and prevent problems during the setting process.
By providing these troubleshooting tips, you can help recipients address common issues and enjoy their candles to the fullest. With all the knowledge and skills you’ve gained from this tutorial, let’s summarize the key points of this guide.
Summary
Crafting a DIY candle gift set is a rewarding and enjoyable process that allows you to create beautiful, personalized gifts. From selecting the right supplies and setting up your workspace to mastering the art of melting and mixing wax, each step is crucial for achieving professional-quality candles. By following the tips and techniques shared in this guide, you can create stunning candles that are perfect for any occasion.
Remember, candle making is not just about the end product but also the joy and creativity involved in the process. We hope this guide has inspired you to explore the wonderful world of DIY candles and create gifts that will light up the lives of your loved ones. Happy candle making!
Frequently Asked Questions
What type of wax is best for beginners in candle making?
Soy wax is the best choice for beginners since it’s easier to handle with a lower melting point. You’ll find it much more manageable as you get started!
How do I prevent air bubbles in my candles?
To prevent air bubbles in your candles, pour the melted wax slowly and try to keep the room temperature steady. This simple trick can make a big difference!
What is the ideal temperature for adding fragrance oils to the wax?
The best time to add fragrance oils is when your wax is between 140°F and 185°F. This way, you'll get the best scent throw!
How can I ensure my candles burn evenly?
To ensure your candles burn evenly, always trim the wick to about 1/4 inch before lighting and let it burn long enough during the first use to melt the wax all the way across. Follow these tips, and you'll get a nice, even burn each time!
What safety measures should I follow when making candles?
When making candles, definitely wear protective clothing, safety goggles, and heat-proof gloves, and ensure your workspace is clear of flammable stuff. Plus, having a fire extinguisher on hand is a smart move!